OnBox Installation
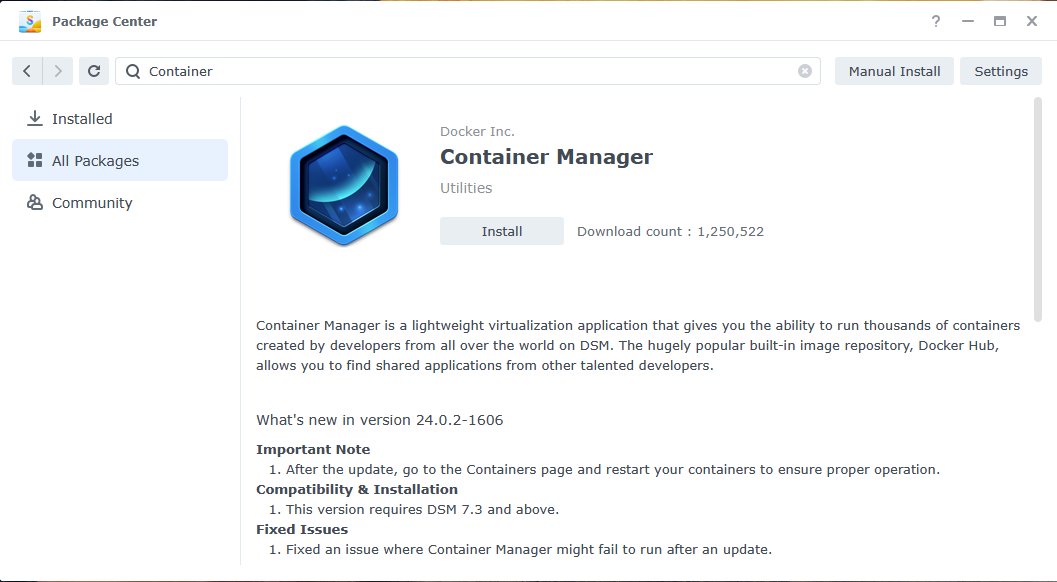
Install Container Manager
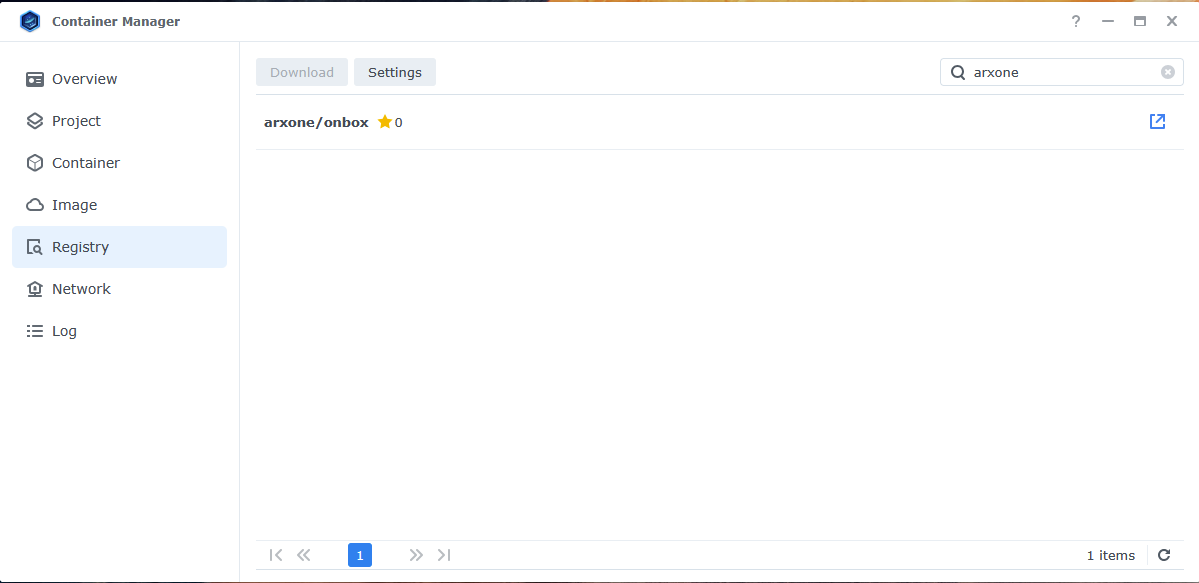
Install the OnBox Image
Go to the Registry tab in Container Manager.
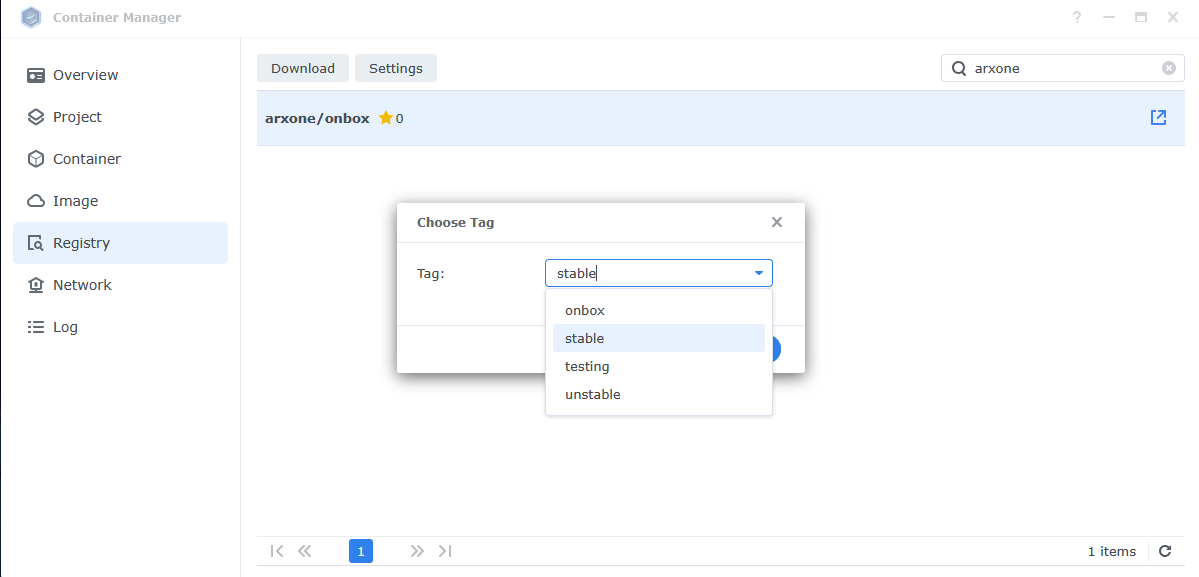
When installing an image, the tag can be configured. The stable tag is recommended.
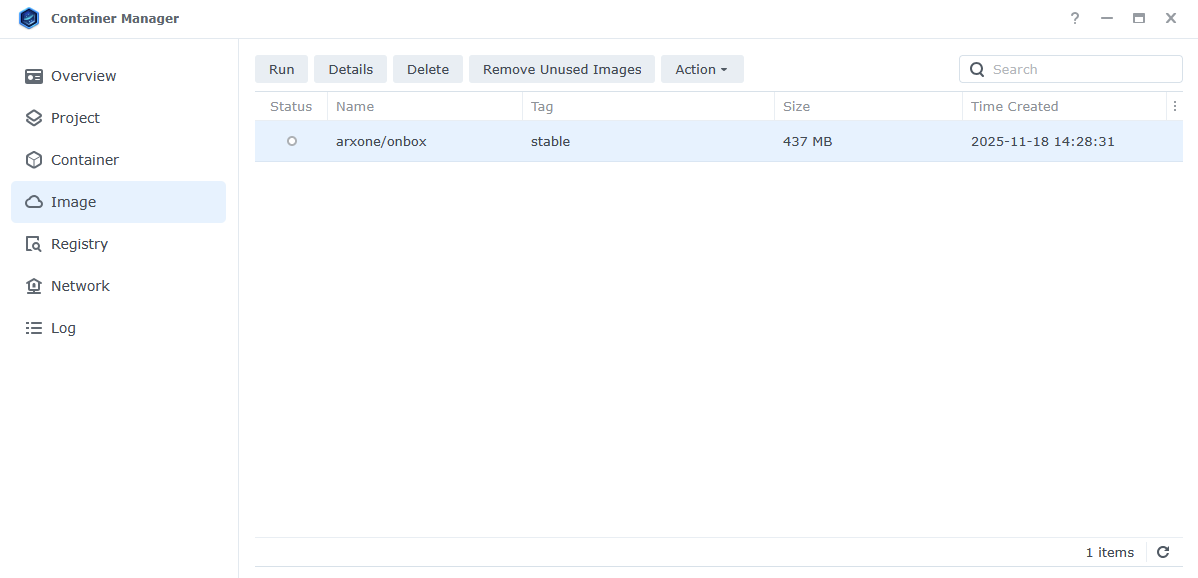
The image should now appear in the Image tab.
Prepare the Server Token
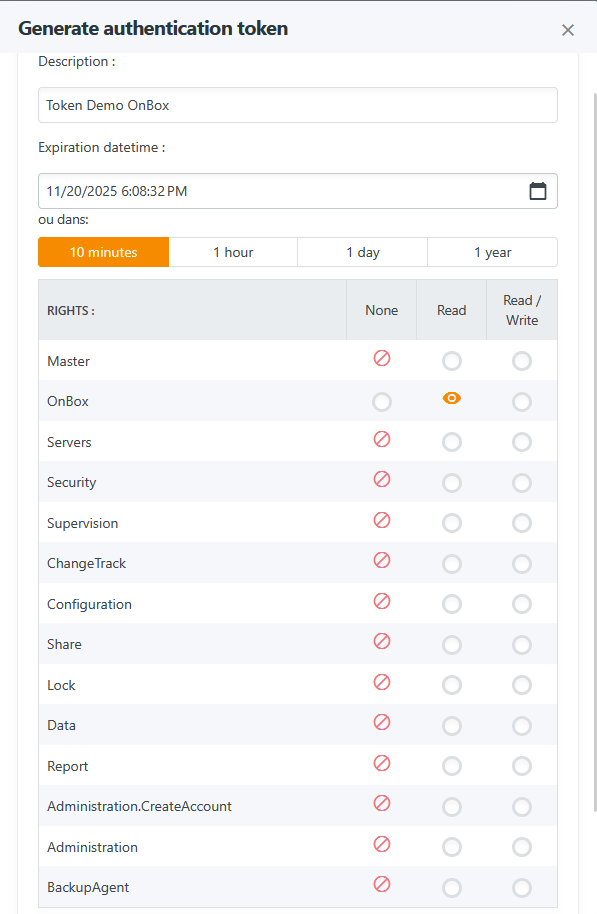
Go to the token generation tab in the Arx One Backup console.
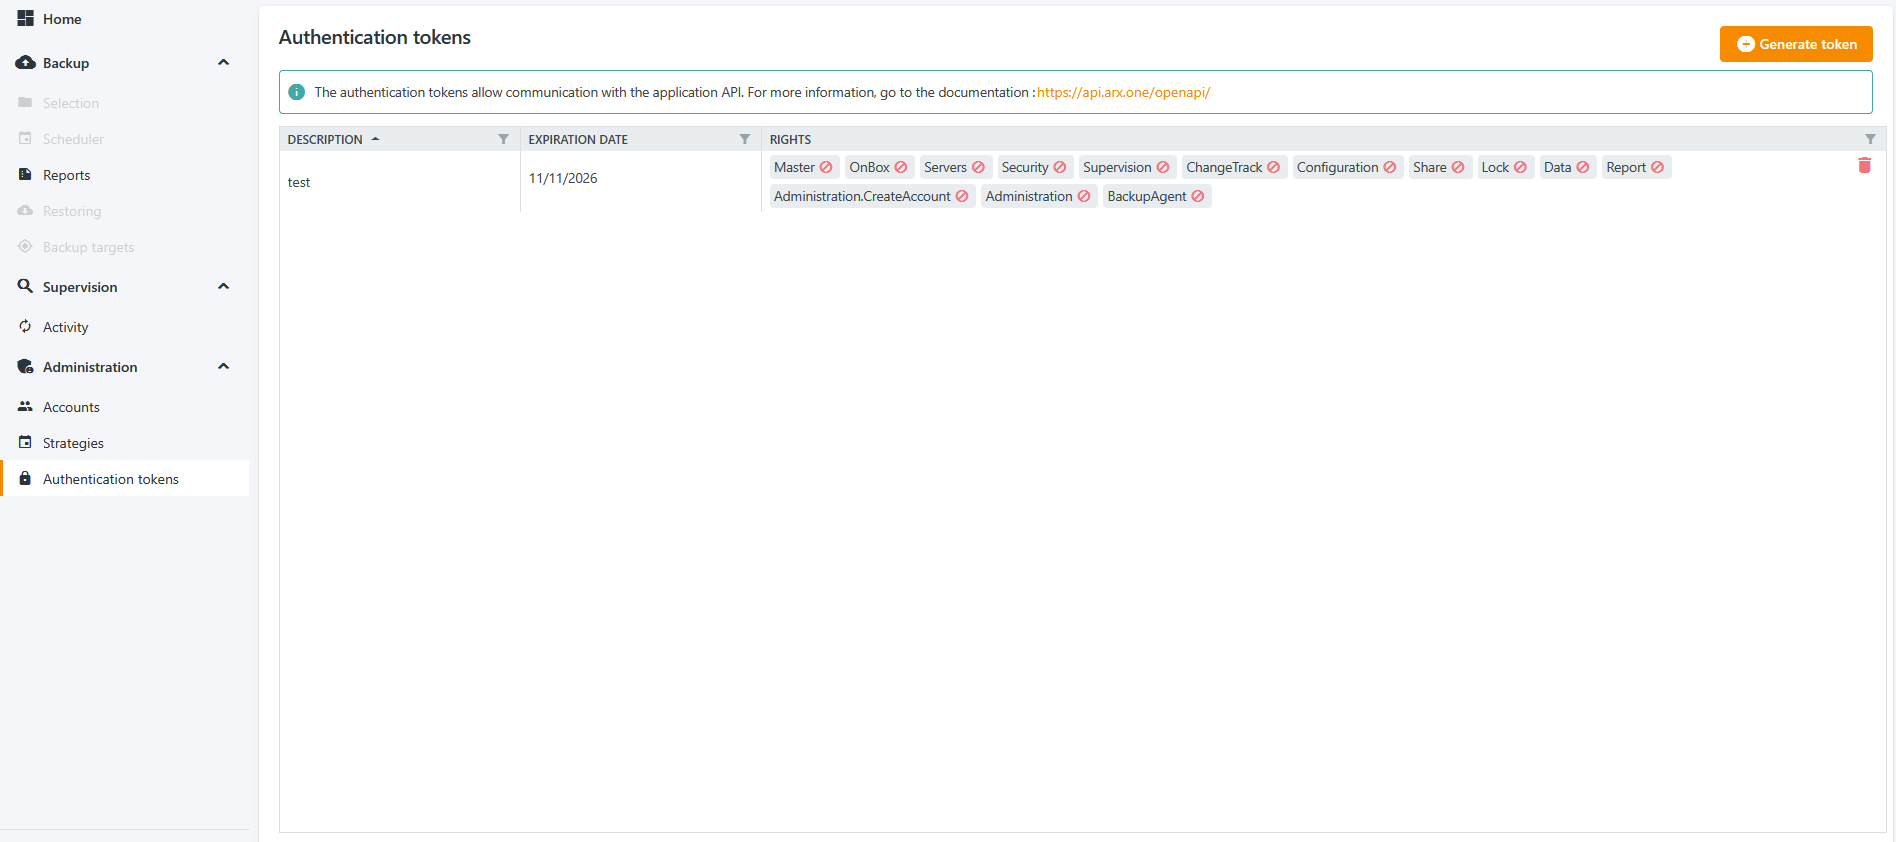
Generate a new token with at least OnBox permissions.
The shortest possible validity period is recommended (the token is only used for the initial service authentication).
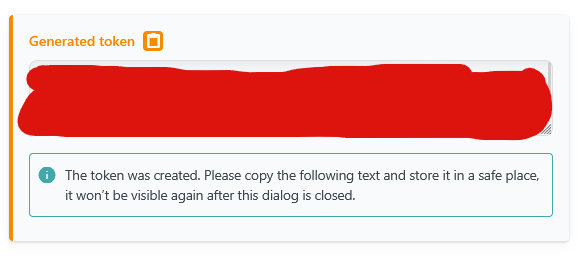
You can then copy the generated token and store it in a safe place.
Start the Service
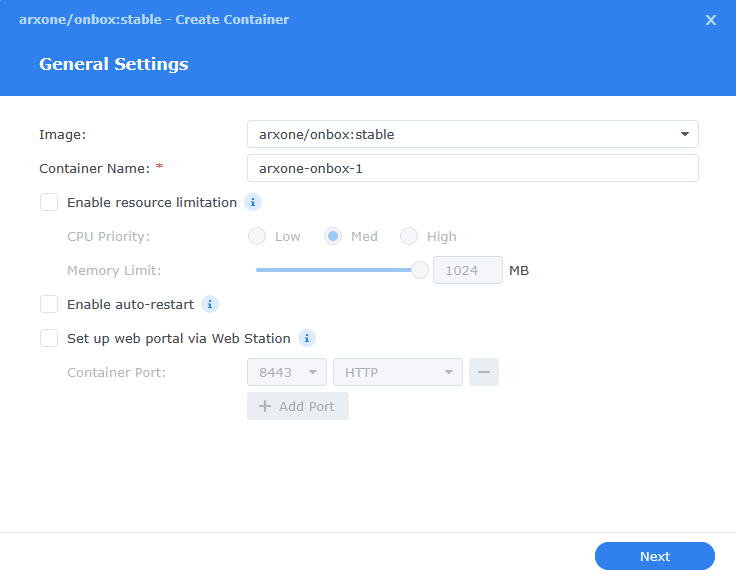
Select the arxone/onbox image and click the Run button.
First Configuration Screen
The first configuration screen allows you to configure:
- The container name
- Resource limits if needed
- Automatic service startup when the NAS boots
⚠️ Do not use the WebStation package for ports.
Second Configuration Screen
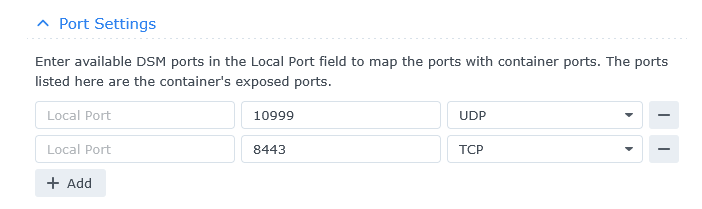
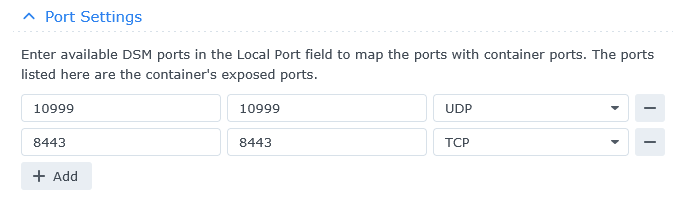
Port Configuration
Simply copy the exposed ports (ports on the right) to the left side.
Backup Volume Configuration
In the volume section, click the Add Folder button.

Select the NAS folder where backups will be stored.
⚠️ It is strongly recommended to use an empty folder created specifically for this purpose.
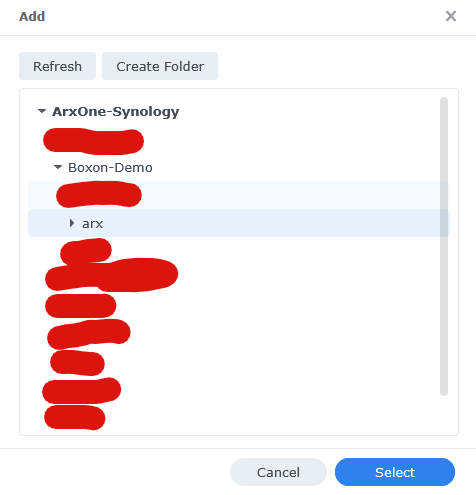
Then enter /arx in the field that appears.
⚠️ Make sure the volume permissions are set to Read/Write.

Environment Configuration
Here, fill in the field to the right of ONBOX_TOKEN with the token previously generated here.

Final Configuration Screen
You can verify here that everything is properly configured.
