Library Settings
Viewing or modifying the settings of a Seafile library is done through the web portal.
Accessing the Portal
To access a library’s settings, you can proceed in two ways:
- Using the client software
- Directly through the external portal
Client Software
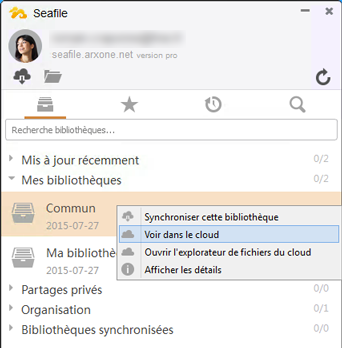
From the client software interface, right-click on the relevant library.
In the submenu that appears, select "View in the cloud".
External Portal
Log in to the external portal using your user credentials.
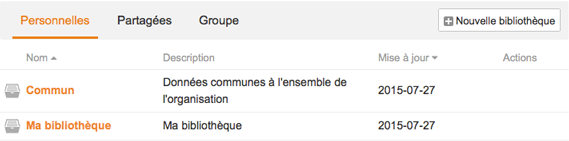
Once connected, click on the name of the library whose settings you want to access.
Accessing Settings
Once you are viewing the contents of your library from the external portal, click on the "Settings" link located above the details.

Settings
The left-hand side of the settings panel gives you access to different sections:
- Basic information
- Ownership transfer
- Shared links
- Share permissions
- Folder permissions
Basic Information
This section allows you to edit presentation information such as the library name and description, as well as its history.
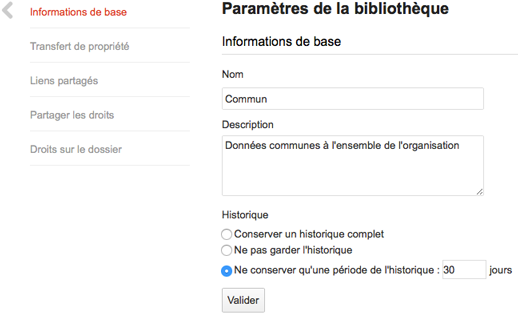
For history, you have three options:
- Keep no history: any modified or deleted file will be instantly and irreversibly affected. We strongly discourage using this option
- Keep full history: allows you to keep all changes made to your files and restore them even after deletion. This option is well suited for critical data, but it consumes more disk space.
- Keep only a limited history period: allows you to define how long your data history (modifications and deletions) is kept. By default, if you are unsure of your needs, we recommend a 30-day retention period.
This setting is critical for data security. Do not hesitate to contact us if you are unsure about your choice.
Ownership Transfer
You can transfer ownership of a library to another user.
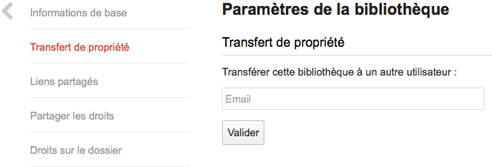
Simply enter their email address and confirm to complete the transfer.
Shared Links
In a Seafile library, as long as it is not encrypted, you can easily create public sharing links (read-only or read/write).
This section allows you to track and manage all external links created for a library.
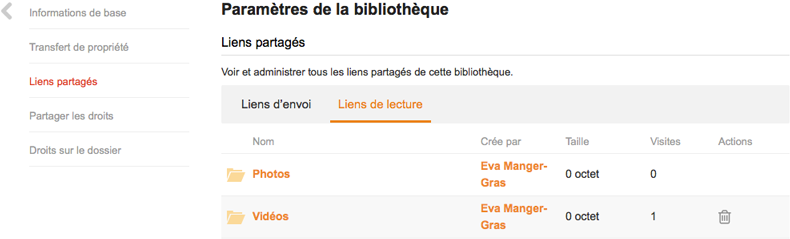
Upload links correspond to deposit boxes you have created. Any user with the link can upload data there.
Read links provide read-only access to selected data. This is an ideal tool for distributing documents to users.
Here, you can:
- View your "Upload links" and "Read links" by selecting the link type at the top
- See how much disk space the link content uses
- Track the number of visits to the link
- Delete the link (by simply clicking the trash icon)
Share Permissions
This section allows you to share your entire library with a user or a group.
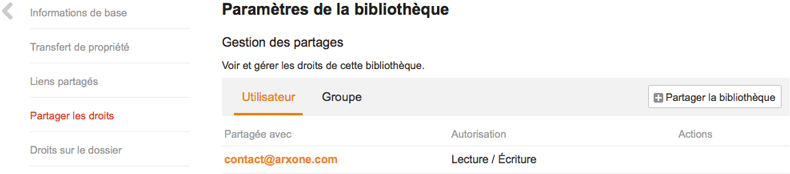
Here is how to proceed:
- Choose "User" or "Group" at the top
- Click on "Share Library"
- Add the people or groups you want to share your data with (Add to enter email addresses, Group to select a group, Contacts to select from your contacts)
- Select the type of permissions to grant (read-only or read/write) from the dropdown list
- Validate the form
Folder Permissions
This section allows you to share the library more precisely, folder by folder, by assigning permissions to a user or a group.
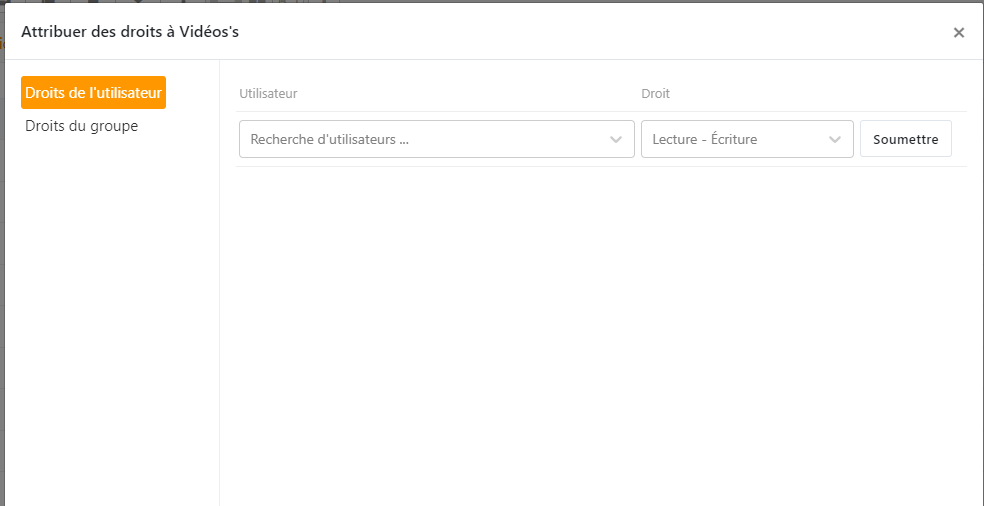
Proceed in the following order:
- Choose "User Permissions" or "Group Permissions" at the top
- Click on "Add Permission"
- Enter the name of the desired user or group in the first field. A dropdown list will suggest matching entries as you type
- Click on "Choose Folder" and select the shared folder from the list
- Select the type of permissions to grant (read-only or read/write)
- Confirm using the dedicated button